6 Steps to How To Wall Mount A Samsung 49 Inch Curved TV
TV Mounting Los Angeles|TV Installation Los Angeles|ITODDo you have a problem mounting your Samsung 49 inch curved TV? Do you search on Google “How to wall mount a Samsung 49 inch curved TV?” and can’t find answer? Then you are in a right place. While our Samsung TV wall mount installation service can help you to hang your TV and as well as finding the best television TV wall brackets, the following blog post consists of easy-to-follow 6 steps, which helps you to easily install your television and TV wall brackets.
Tools you need to have at hand:
1) A drill machine; you will need drilling through a concrete or wooden stud
2) Pencils; for mark the exact spots you need to drill
3) A measuring tape
4) Screw drivers
With this available we move on to the first step.
6 Steps To How to Wall Mount A Samsung 49 Inch Curved TV
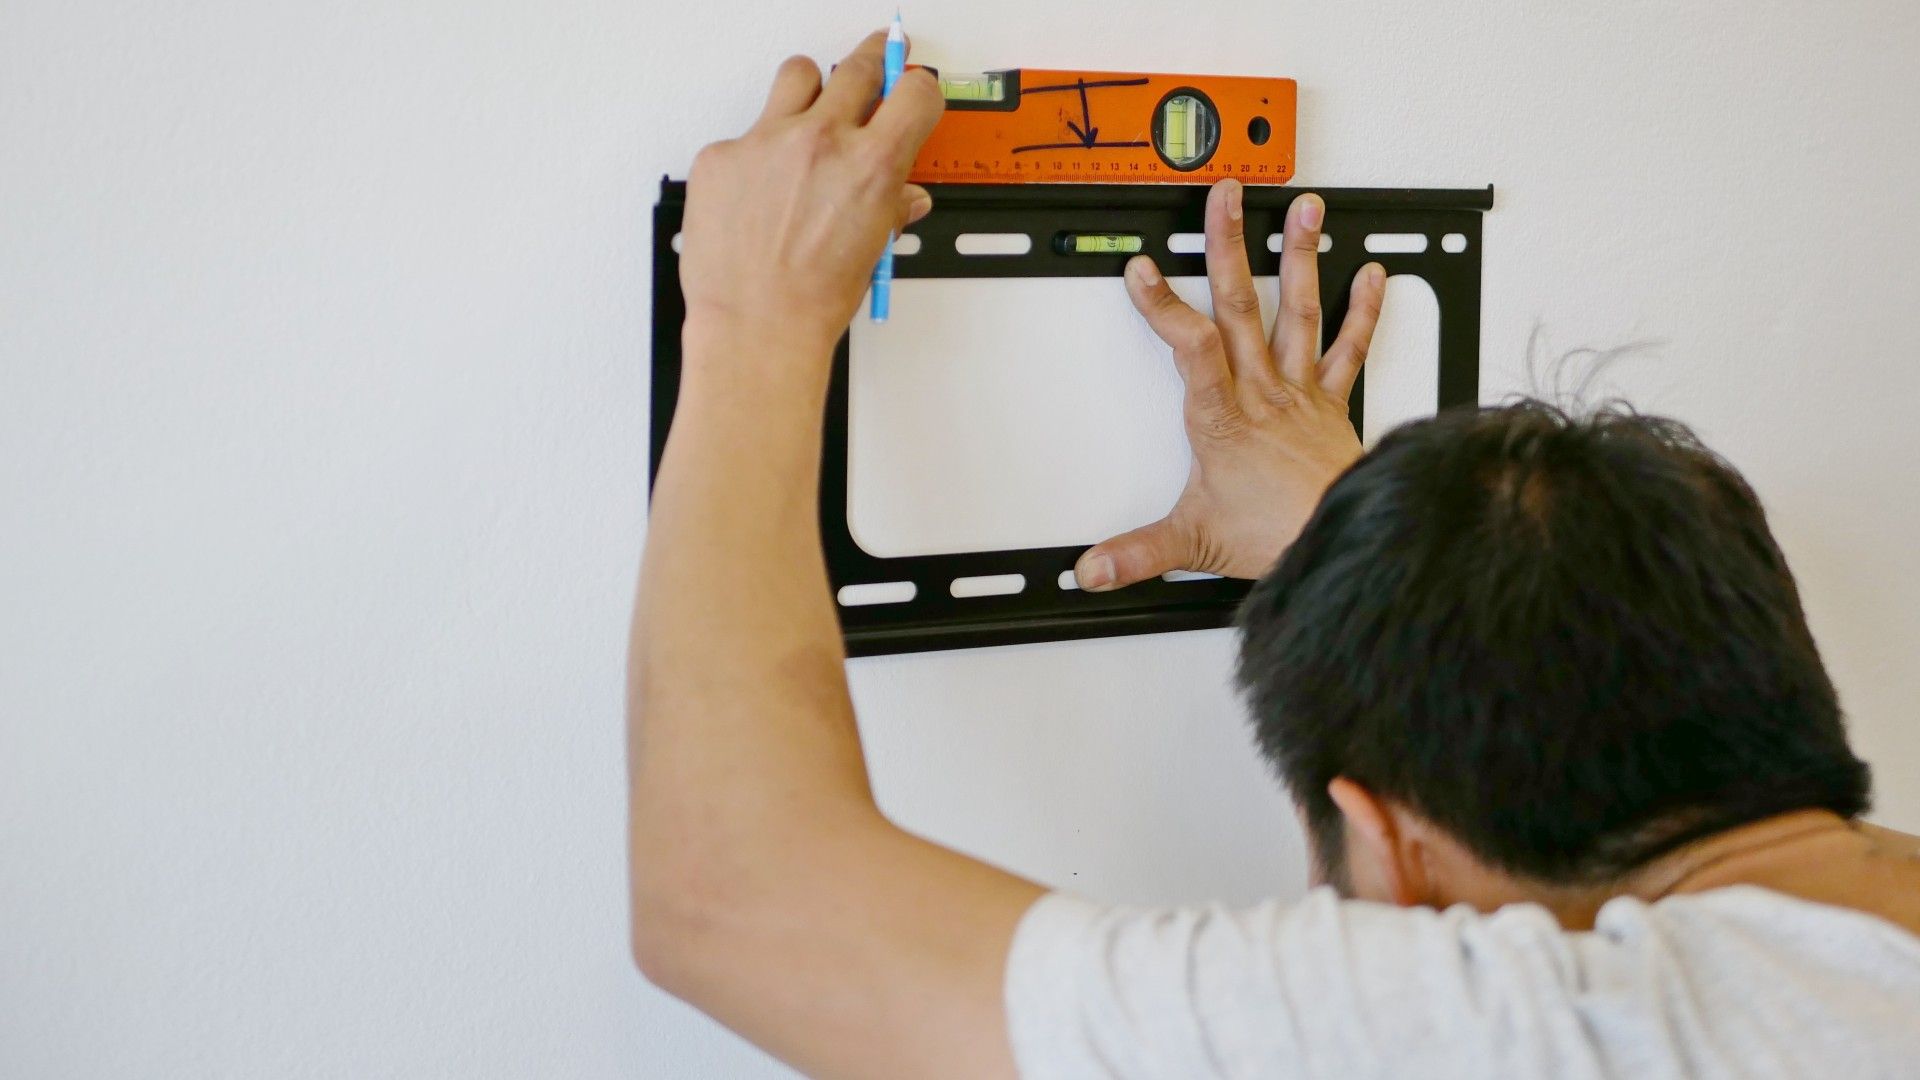
STEP 1: PLACE THE TV WALL MOUNT ON THE WALL
You are wonderful regardless of whether your wall is built of concrete or wood. First and foremost, you must:
If the concrete wall supports, place the LOCKET MODEL R2 TV wall mount against the wall and make six markings where the screws will be installed.
Drill six holes with a 10 mm diameter and a hole depth of 60 mm in your concrete wall where the markings were formed.
Install screw anchors in the wall’s drilled holes. Then, using the screws and washers included in the box, fix the TV wall mount to the wall.
You are also protected if your wall is composed of wood. There are comparable stages to follow, with a few minor differences.
If installing on a wood stud wall, locate the studs and make four markings on the wall where the screws will be installed.
Drill four holes on the designated areas on the side of the wood studs, each with a 5mm diameter and the same 60mm depth.
Use the screws and washers included in the box to secure your Samsung curved TV wall mount to the wall.
Step 2: COVERING THE WALL PLATE WITH A PLASTIC COVER
The plastic cover will keep your wall looking nice by hiding all of the screws on the wall plate and blending the mount into the background.
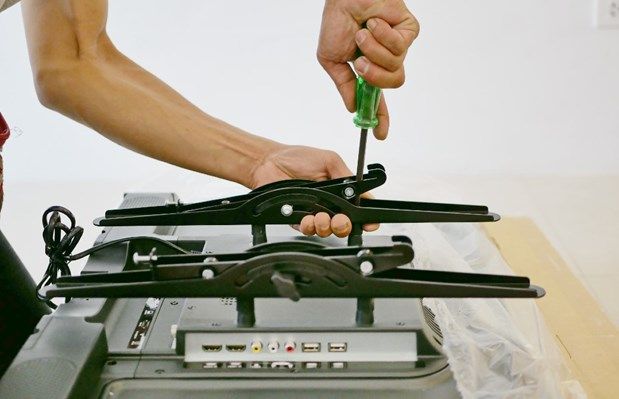
STEP 3: ATTACH THE MOUNTING PLATES TO THE TELEVISION
Depending on the size of the VESA holes on the back of your TV and washers, attach the mounting plates to the back of your TV with four screws.
Use extension washers between the mounting plates and washers if the screws are too long for the mounting hole or if the back of your TV has an indentation.
STEP 4: HANG THE TELEVISION ON THE WALL PLATE
To do this, first, slide the mounting rails onto the mounting plate, then clip the two arms into the gear to secure the TV on the mount. Last but not least, attach the magnetic pendants to the television wall brackets.
STEP 5: ADJUST THE TILTING FUNCTION
The TV may be at an unpleasant angle as a result of all the handling. Tighten or loosen the screw nuts on the head of the TV plate to allow the tilting feature to work properly. We’ve reached the end of the process.
STEP 6: MANAGEMENT OF CABLES
Maintain a nice and orderly appearance. The cable management cover should be clipped to the mount, and the cable should be managed neatly to fit under the cover.
With all of these procedures completed correctly, you can be certain that your curved TV is in the proper location, and you can pat yourself on the back for being a TV WALL MOUNT, LOCKET MODEL R2 expert.
Conclusion
If you wondering how to wall mount a Samsung 49 inch curved TV by yourself, here is our guide. Also you can read our 5 Ways to Learn How to Install TV Wall Mount On Drywall blog for more information.


